CORIOmaster & CORIOgrapher Help
Quick start
This Quick Start Guide gives you an overview of the steps involved in setting up
-
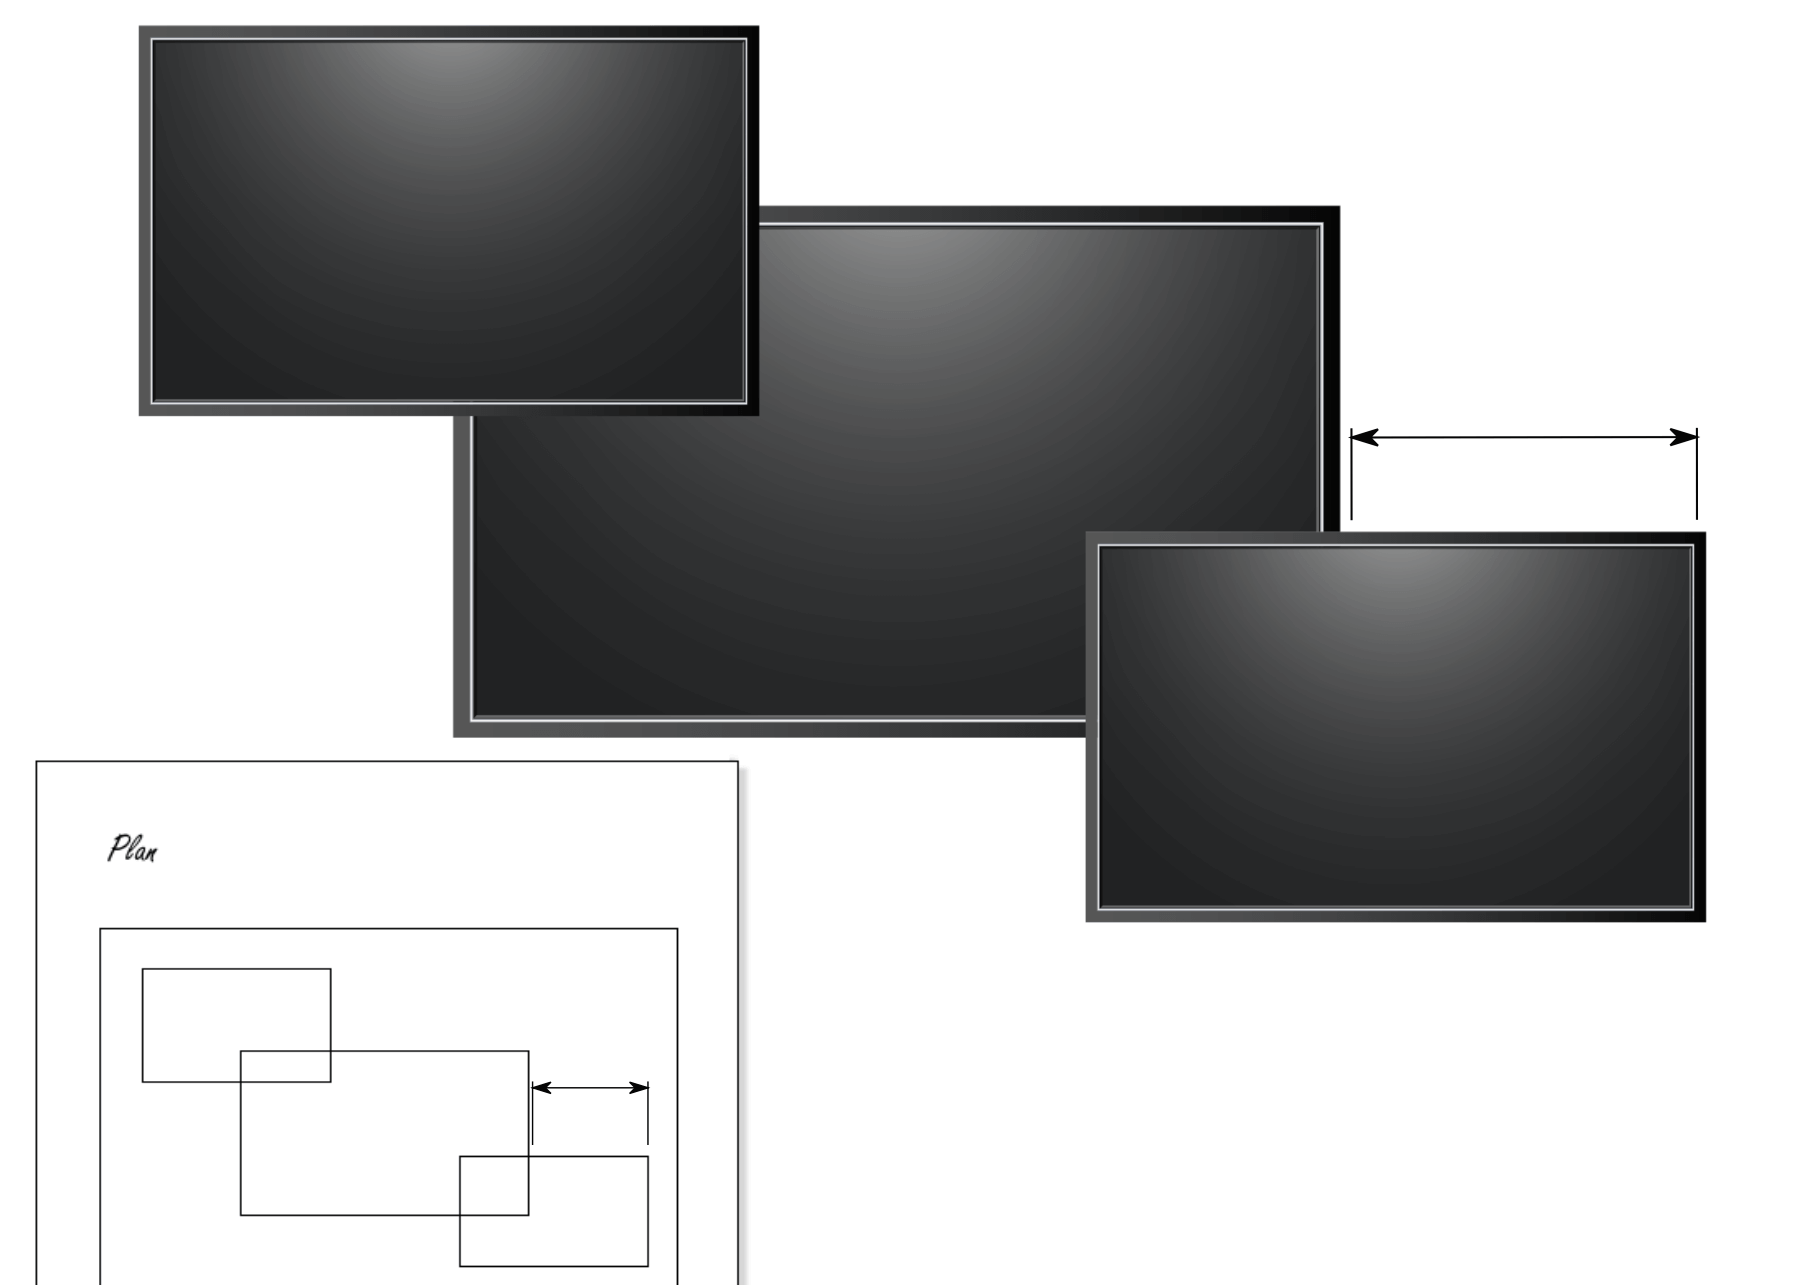
Plan your video wall. What do you want your video wall to look like? What equipment do you need to achieve this?
-
Install your hardware.
-
Position your displays.
-
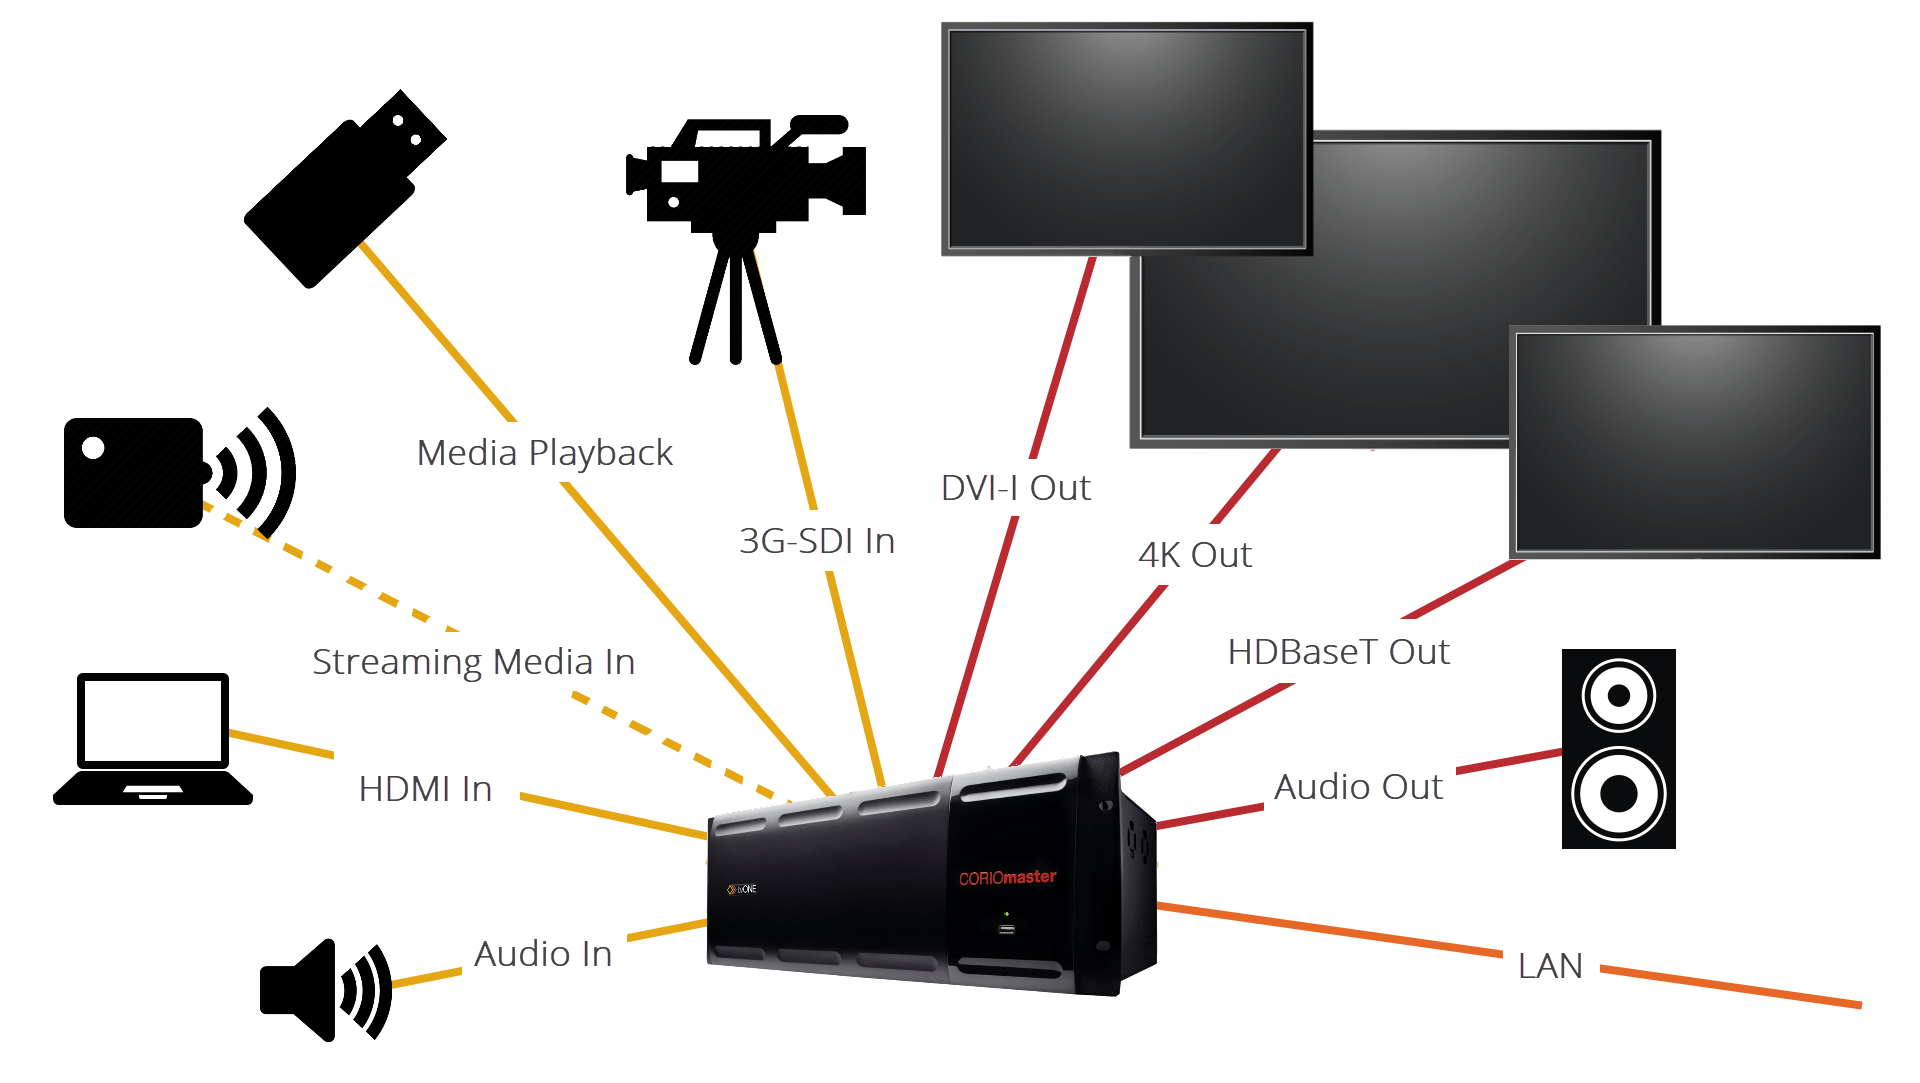
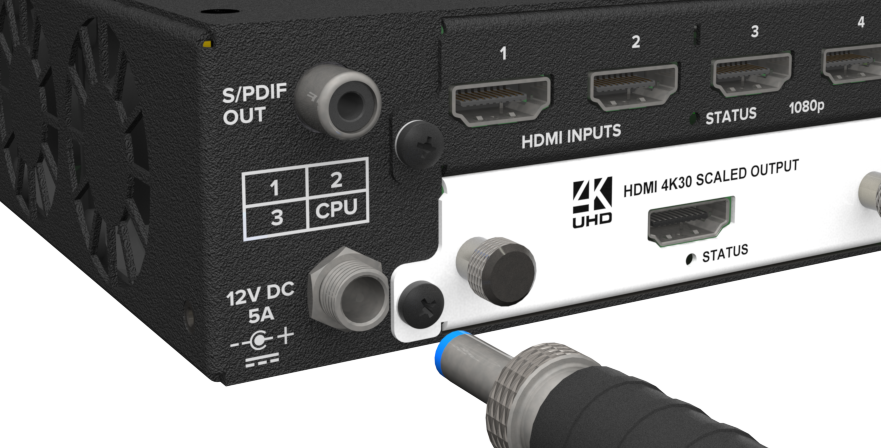
Connect your displays and sources to your output and input modules. Connect the LAN port of the CPU module to your network.
Video tearing
Using a mixture of frame rates and/or resolutions can cause video tearing. For best results, make sure all your displays use the same frame rate. - OPTIONAL:
-
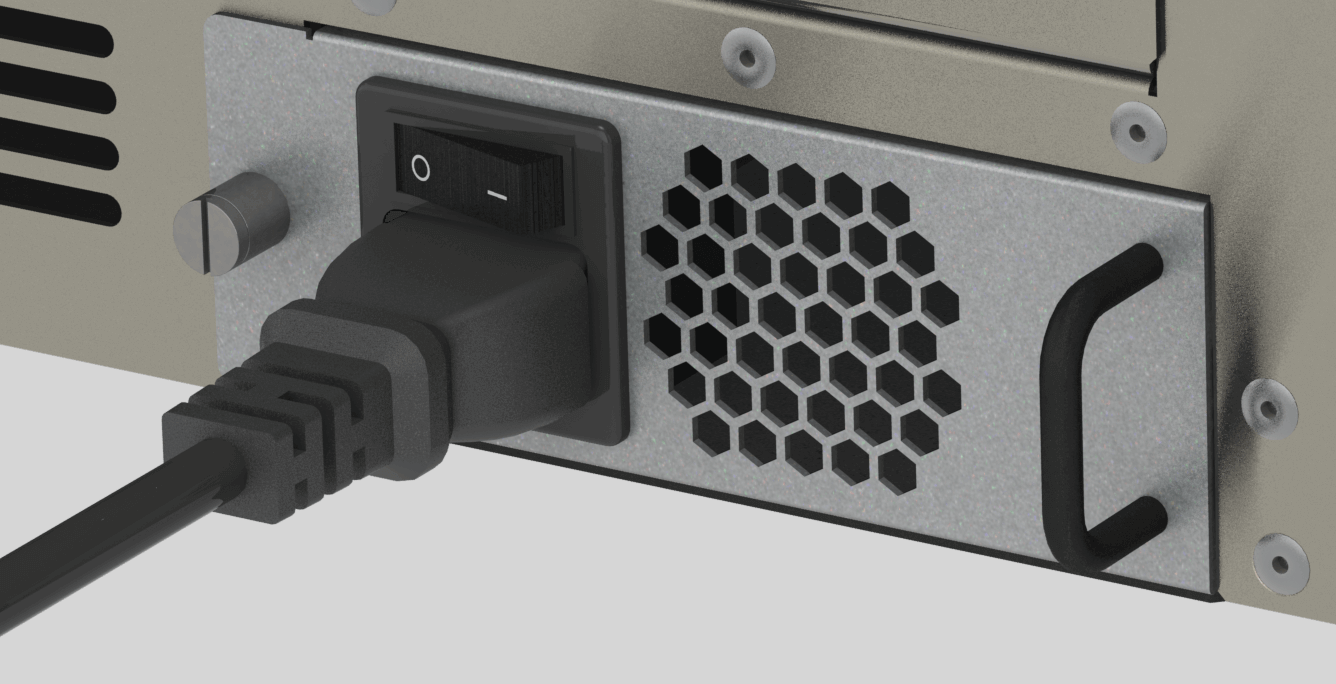
Power on your
-
-
Install CORIOdiscover and CORIOgrapher.
Download the latest version of CORIOdiscover and CORIOgrapher from tvone.com/softwares
-
Open CORIOgrapher and select your

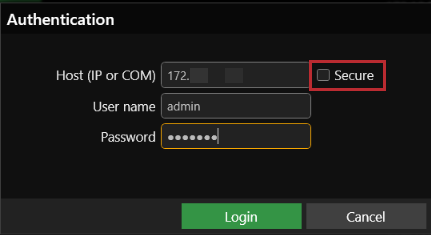
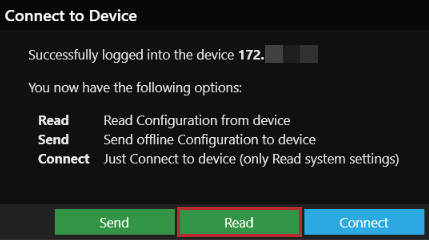
Enter your username and password to log in, and select Read to load your configuration.
-
The first time you log in, make sure the Secure option is cleared.
-
The default username is admin, and the default password is adminpw.
Read about what to do if you can't find your
If you aren't connected to a
The media player of the Streaming media and 4K playback input module is not available when you work in an offline configuration.
-
-
Optional: enable secure mode.
-
Select
 > Networking.
 -
Select Secure connection.
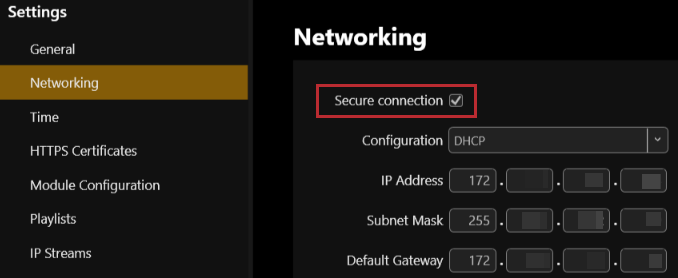
-
Select Save > Save.
CORIOmaster restarts.
-
Select Secure and log in.

-
-
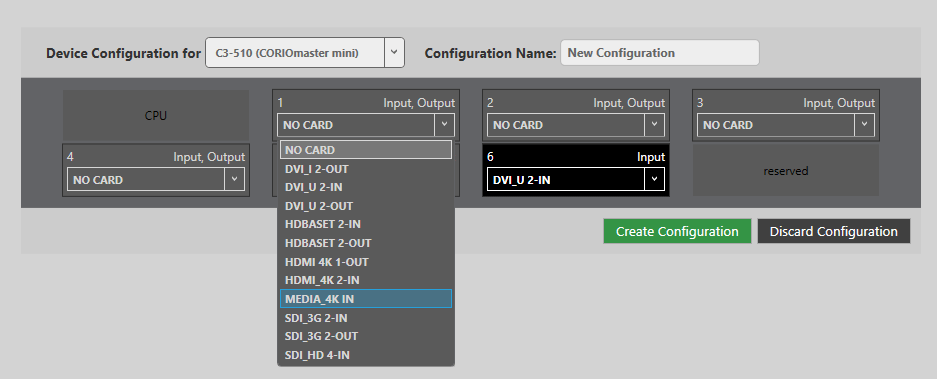
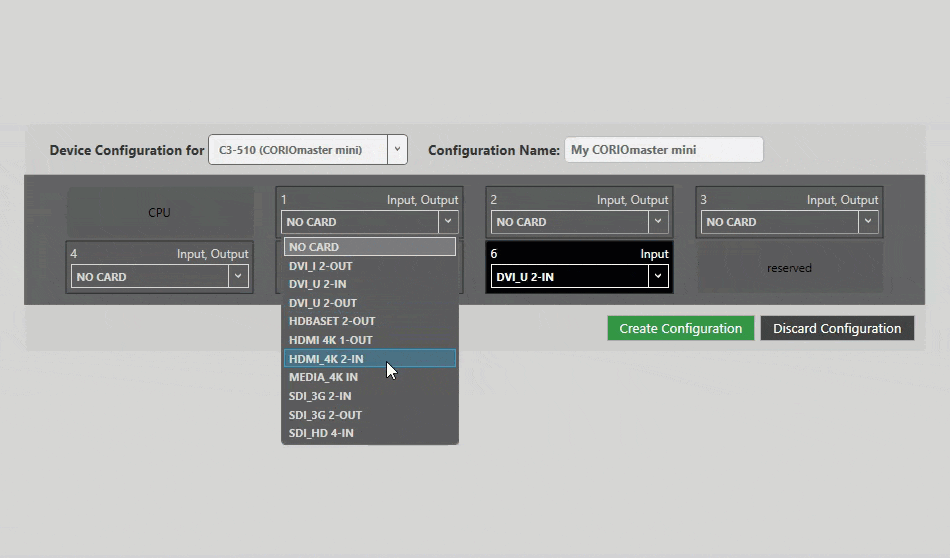
Optional, but recommended: name your input and output ports.
Select
> Slot Status. Give each port a name that describes the device connected to it.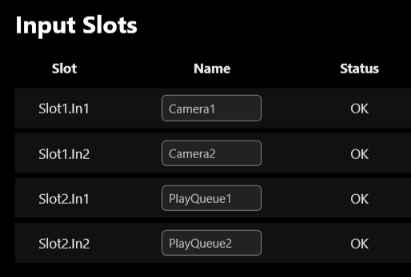
-
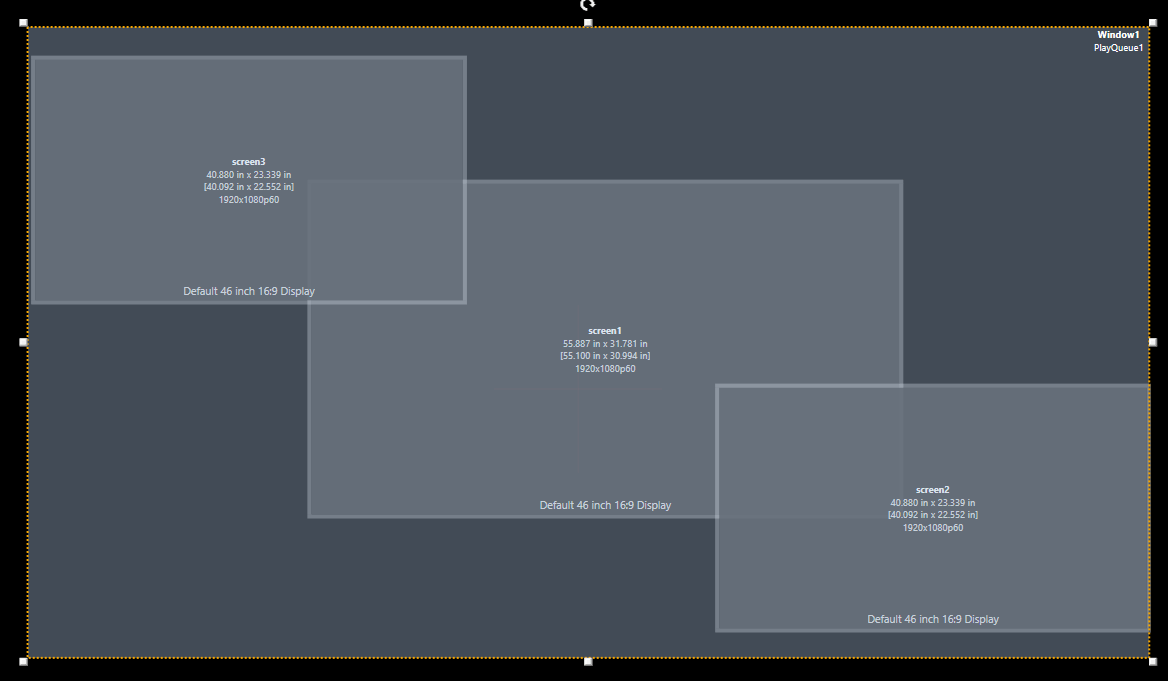
On the wall editor, add your displays, and arrange them to match your video wall.
Select Wall Editor > (DISPLAYS) Add, and drag your displays onto the wall editor. Drag the displays into place.
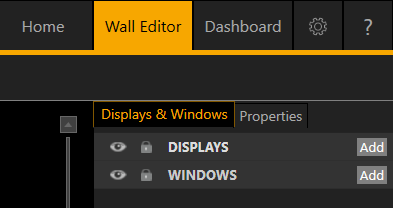

Create a rough arrangement at this stage. When you have tested your video wall you can make your arrangement more accurate.
-
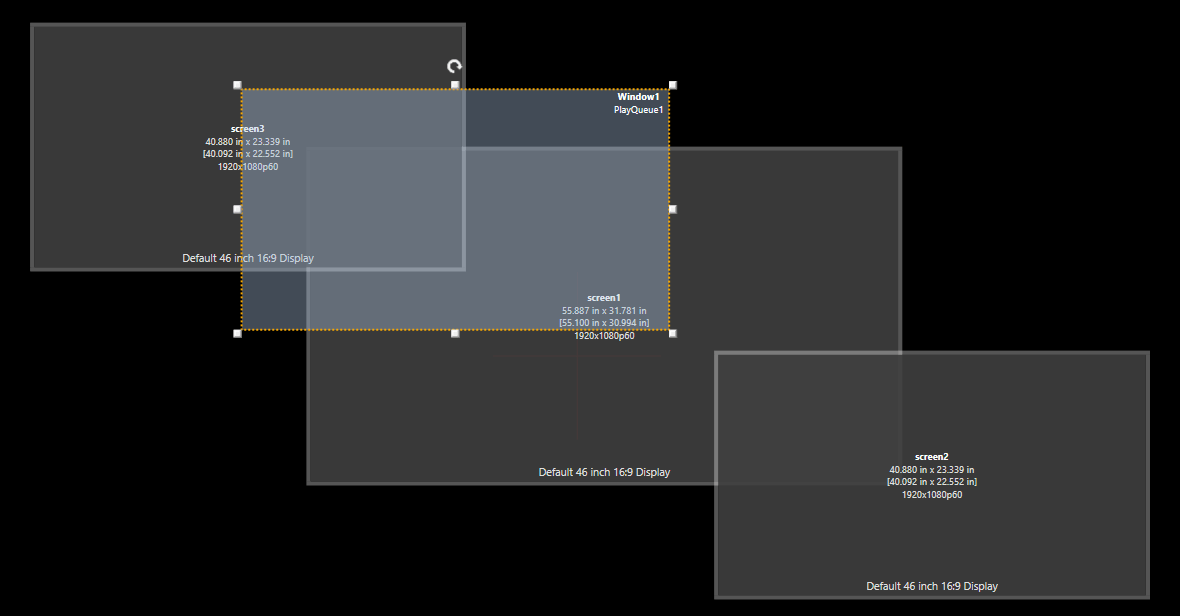
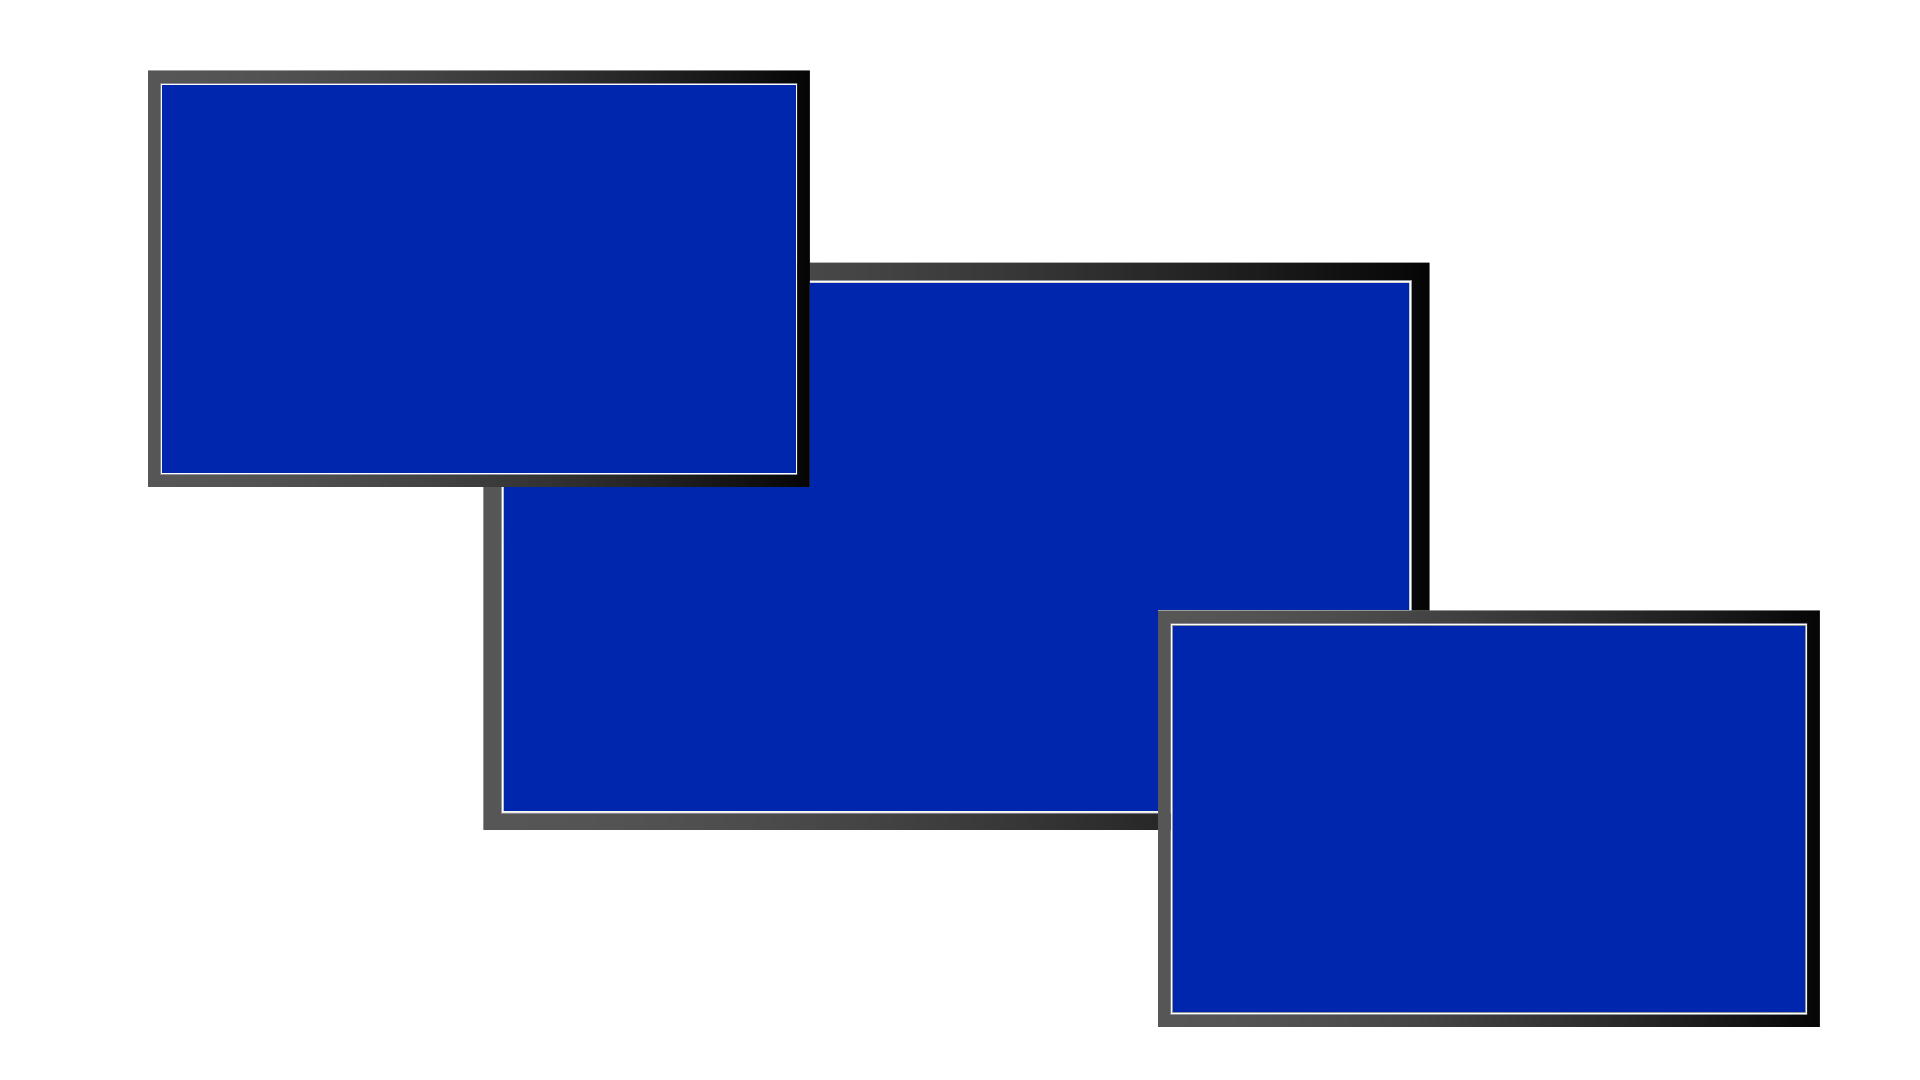
Add a window and scale it to cover the whole video wall.
Select Wall Editor > (WINDOWS) Add, and drag a window onto the wall editor. Drag the edges until it covers all of your displays. Select Take to send the video wall to your CORIOmaster.
-
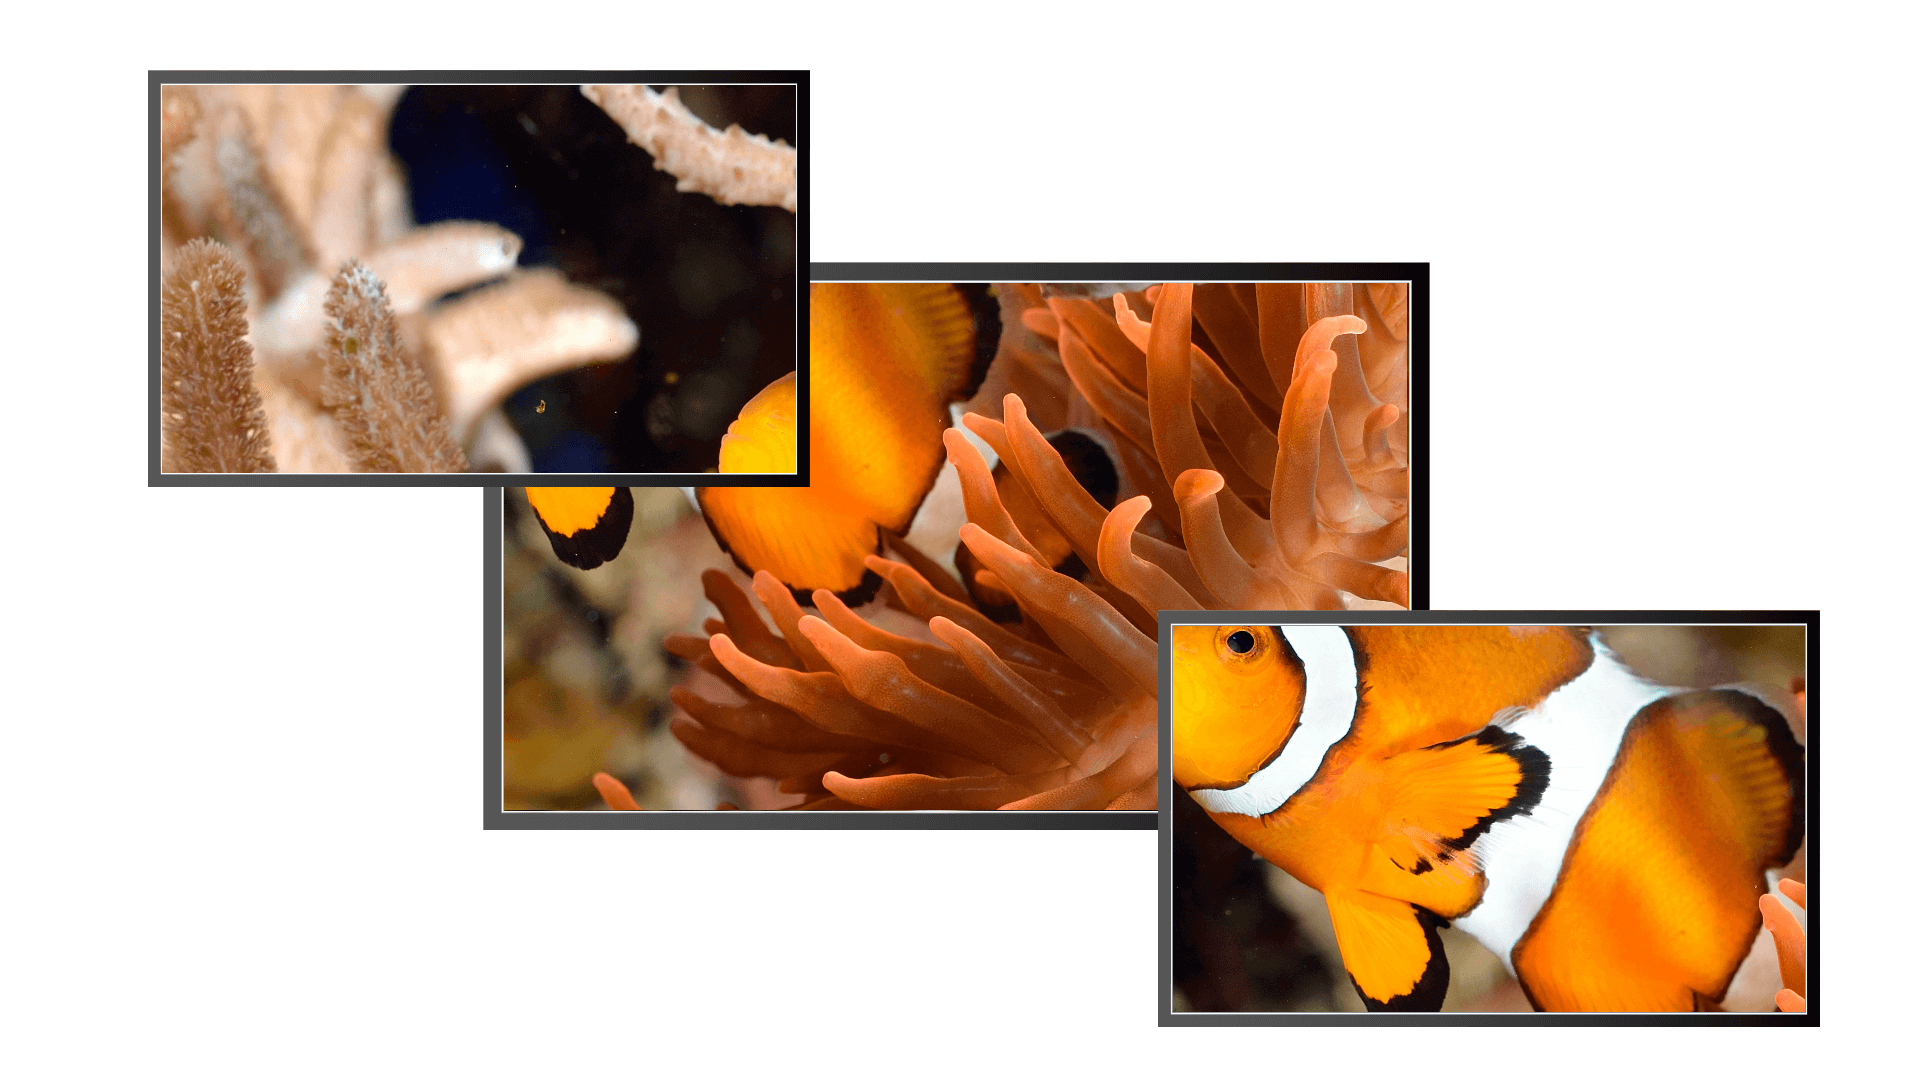
Check that your video wall looks correct.
Make sure that the source for the window is playing, and check that the picture is assembled correctly.
 Not the source you were expecting, blue screen, display keeps dropping signal, or no image.
Possible causes:
- Source connected incorrectly
- Input ports named incorrectly
- Source not playing
- Source resolution not supported
- Display does not support HDCP
- Source does not support the required number of HDCP keys
- Poor quality or damaged cables
 Source correct, connected, and playing. Image appears in the wrong places.
Possible causes:
- Displays arranged incorrectly in CORIOgrapher
- Output ports named incorrectly
- Displays connected incorrectly
 Source and displays connected and arranged correctly.
 - Repeat step 7 to add windows for all of your sources. Check that all your sources and displays work as expected.
Read more about testing your video wall
Next steps
Congratulations, your
Read about presets and transitions
If your CORIOmaster contains one or more Streaming media and 4K playback input modules, you need to set those up too.
Read about setting up Streaming media and 4K playback input modules